How to Photograph Cannabis Plants for an Accurate Diagnosis
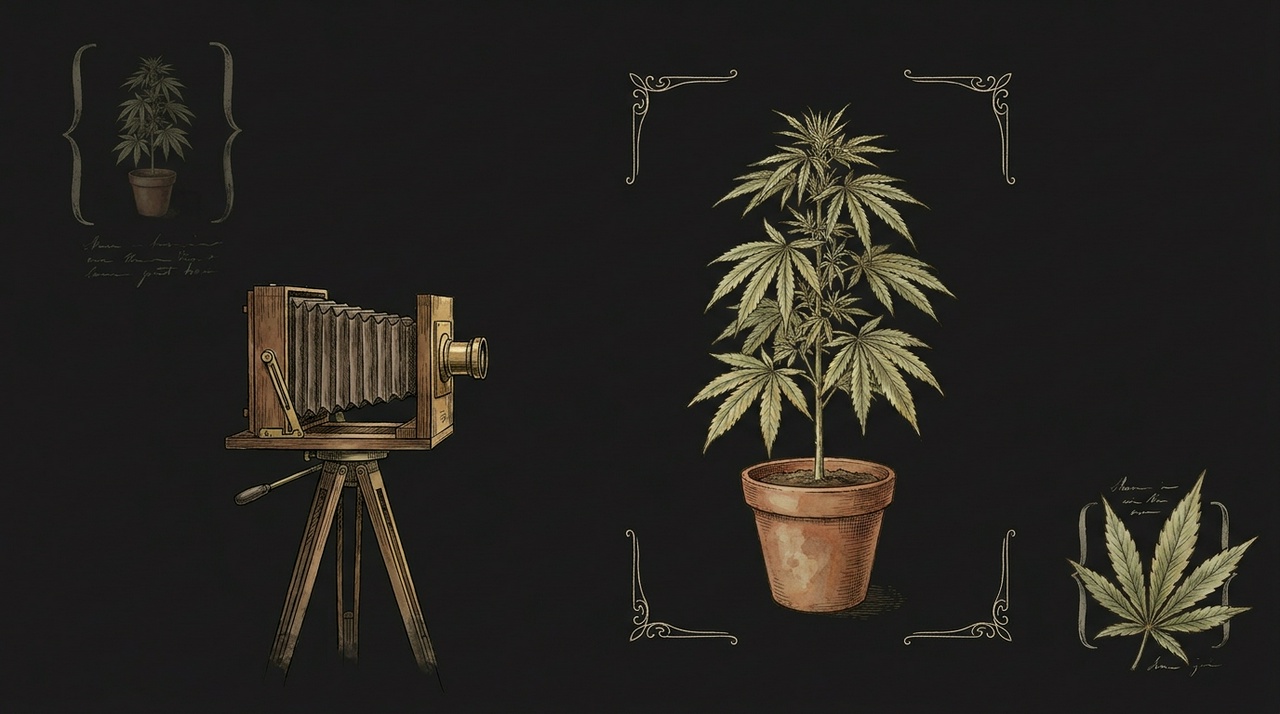
How to Photograph a Cannabis Plant for Diagnosis
Frame the whole plant so it fills most of the shot, and use even light that isn't blown out. Don't zoom in on the damaged leaf, and don't shoot from across the tent. If your lights are blurple, that matters far less than whether the photo is overexposed.
The mistakes that cost you most aren't the ones people expect.
The One That Surprises Everyone
When a leaf looks wrong, your instinct is to get close and photograph the damage. It feels like helping.
It's the most reliable way to get a wrong answer.
I took four labeled images – powdery mildew, spider mites, a nitrogen deficiency and a calcium deficiency – cropped each one tight around the affected area, and ran them through. Not one survived. The mildew came back healthy. The spider mites came back as a nitrogen deficiency. The calcium deficiency came back as septoria. The nitrogen crop wasn't recognized as cannabis at all.
Diagnosis is comparative. Which leaves are affected, old growth or new. Whether the pattern is uniform or between the veins. How the rest of the plant looks by comparison. A close-up throws all of that away and leaves a patch of discolored green that could be six different things.
Photograph the plant. The damage is already in the photo.
But Don't Go Too Far Back
The opposite mistake fails just as reliably. Shot from across the tent, all four went wrong: two returned the wrong condition, one came back healthy, and one wasn't recognized as cannabis at all.
There's also a hard floor on size. Scaled to 256 pixels wide, three of four failed the cannabis check outright and returned nothing. Any modern phone clears this easily, so it only bites when something in your pipeline resizes before upload. If you're automating, send the original.
One plant, filling most of the frame.
Light Level Beats Light Color
Overexposure is the dangerous failure, because it doesn't look like one.
Brightened until the highlights clipped, two of the four sick plants came back healthy with reasonable confidence. Blown-out highlights wash out the exact color and texture differences a diagnosis rests on, and what's left looks like an untroubled plant. You get an all-clear on a plant that needs attention, and nothing in the response tells you to doubt it.
Underexposure is gentler. Two of the four darkened images kept the exact right answer; of the other two, one dropped out of the cannabis check and one named the wrong pest. Neither returned a false all-clear. Wrong, or refused outright, you can recover from. Confidently-healthy you can't.
Blurple light did less damage than expected – three of four still returned the correct condition under a heavy magenta cast. That's smaller than the effect of exposure. It still costs some confidence, so shoot during a lights-off window or use your flash when that's easy. When it isn't, shoot under the grow lights anyway and watch the confidence score.
I simulated that color cast digitally rather than photographing under real fixtures, so it's directional rather than settled.
Blur Is More Forgiving Than You Think
A heavy blur kept the correct diagnosis on half the test images. On the other half it produced a wrong answer, with confidence collapsing to 0.10 and 0.15.
That's the system working. When the image doesn't support a call, confidence drops instead of the answer quietly getting worse. Treat anything under about 0.3 as “take another photo,” not as a diagnosis.
The reverse doesn't hold. A high score is not a guarantee: one tight crop returned the wrong condition at 0.70. Low confidence reliably means don't trust it. High confidence doesn't reliably mean you can.
Still focus your shots. But given the choice between a slightly soft photo of the whole plant and a razor-sharp photo of one leaf, take the soft one.
The Checklist
| Do | Why |
|---|---|
| One plant, filling most of the frame | Diagnosis is comparative – it needs the whole plant |
| Even light, no blown highlights | Overexposure returns false healthy calls |
| Shoot lights-off, or use the flash | Costs less confidence than shooting under blurple |
| Send the original file | Aggressive downscaling breaks the cannabis check |
| Retake anything under 0.3 confidence | Low confidence often means the photo, not the plant |
| Avoid | What happens |
|---|---|
| Close-up of the damaged leaf | Wrong answer or a false healthy, every time |
| Whole-tent wide shots | Wrong answer, or not recognized as cannabis |
| Brightening a dark photo to “fix” it | Turns a diagnosable photo into a healthy verdict |
How I Tested
Four labeled images – powdery mildew, spider mites, nitrogen deficiency, calcium deficiency. Eight versions of each: original, darkened, brightened, blurred, color-cast, tightly cropped, shot-from-distance, downscaled. Thirty-two diagnoses. All four originals returned the correct condition untouched.
The variants were made digitally rather than by re-photographing under each condition. And four plants is four plants: enough to show a pattern that held every time, not enough to put a percentage on it. Hence directions rather than numbers.
If You're Automating
Same rules, plus two. Don't resize before upload. And branch on confidence instead of treating every response as equally solid – under 0.3 usually means trigger another capture, not raise an alert.
The Home Assistant and Node-RED guides cover the wiring, and the API walkthrough covers what comes back.
Try it on your own plants at plantlab.ai – three diagnoses a day, free, no card.